Two-factor authentication (2FA) adds an extra layer of protection to your account by requiring a second step when logging in. Instead of relying on just your password, 2FA asks you to confirm your identity using a code generated by an authenticator app or a backup code you saved earlier.
With Slimlink, a user can enable 2FA for their account at any time when additional security is needed. This setting applies to all types of authorized users, including free accounts.
Enabling 2FA
2FA is an optional feature that helps protect your account. It's turned off by default, but you can enable it at any time to strengthen your account security.
To enable two-factor authentication:
- Log in to your Slimlink account.
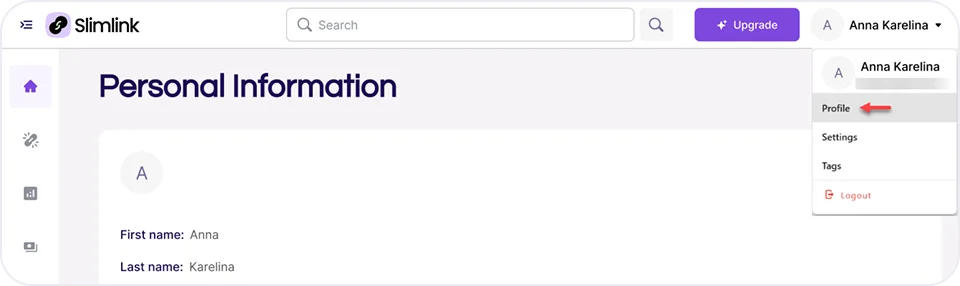
- Expand the dropdown menu in the right top corner next to your name, and select Profile to open your Personal Information page.

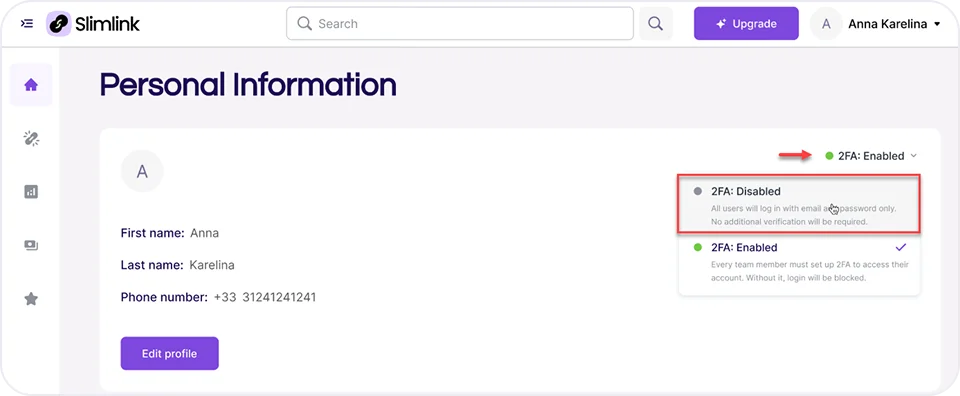
- From the 2FA menu, select 2FA: Enabled.

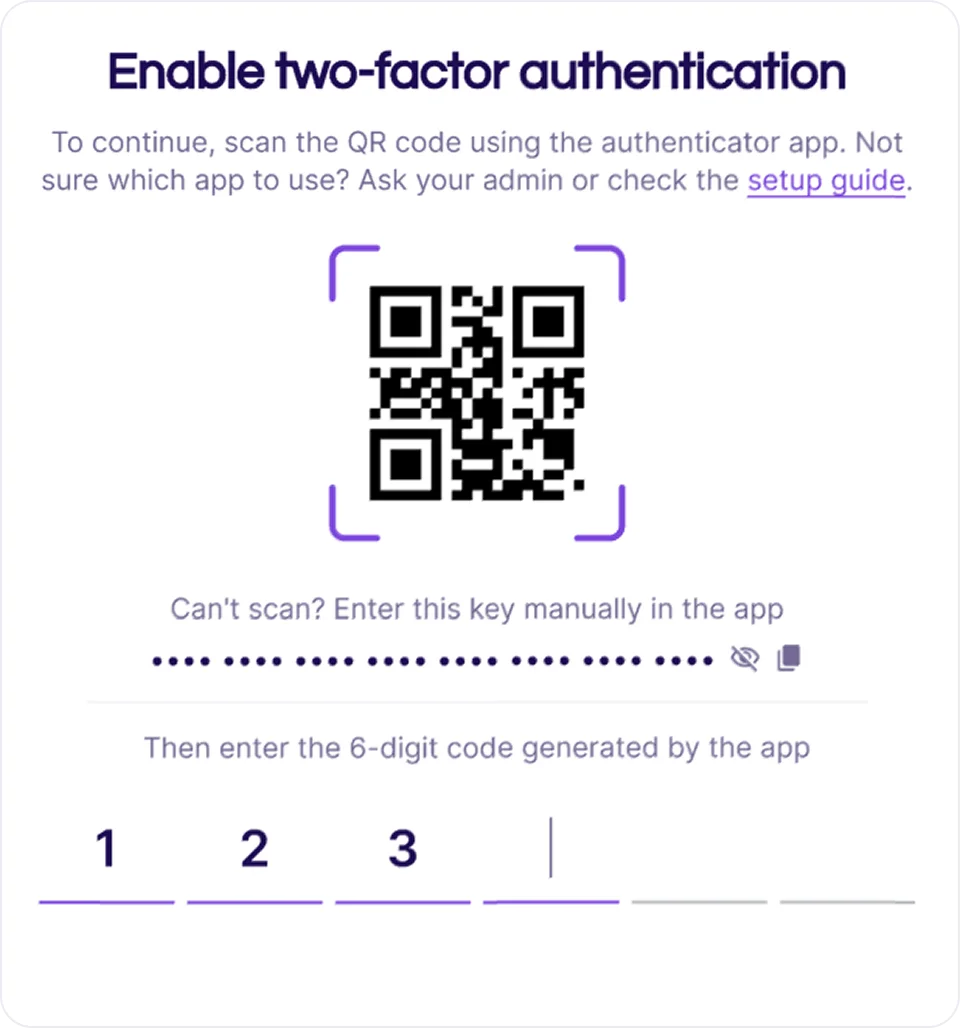
- You'll see a QR code on the screen - open your authenticator app and scan it, or copy the setup key and enter it manually. The app will then show you a 6-digit code - type that into the provided field.
- The entered code is validated and if entered correctly, you are automatically redirected to the next screen. Here, you'll see a set of recovery codes for your account. Recovery codes are a backup method for accessing your account in case you can't use your authenticator app, for example, if your phone is lost or reset.
Click Copy recovery codes and store them somewhere safe. We also recommend printing them out in case you ever lose access to your authenticator device.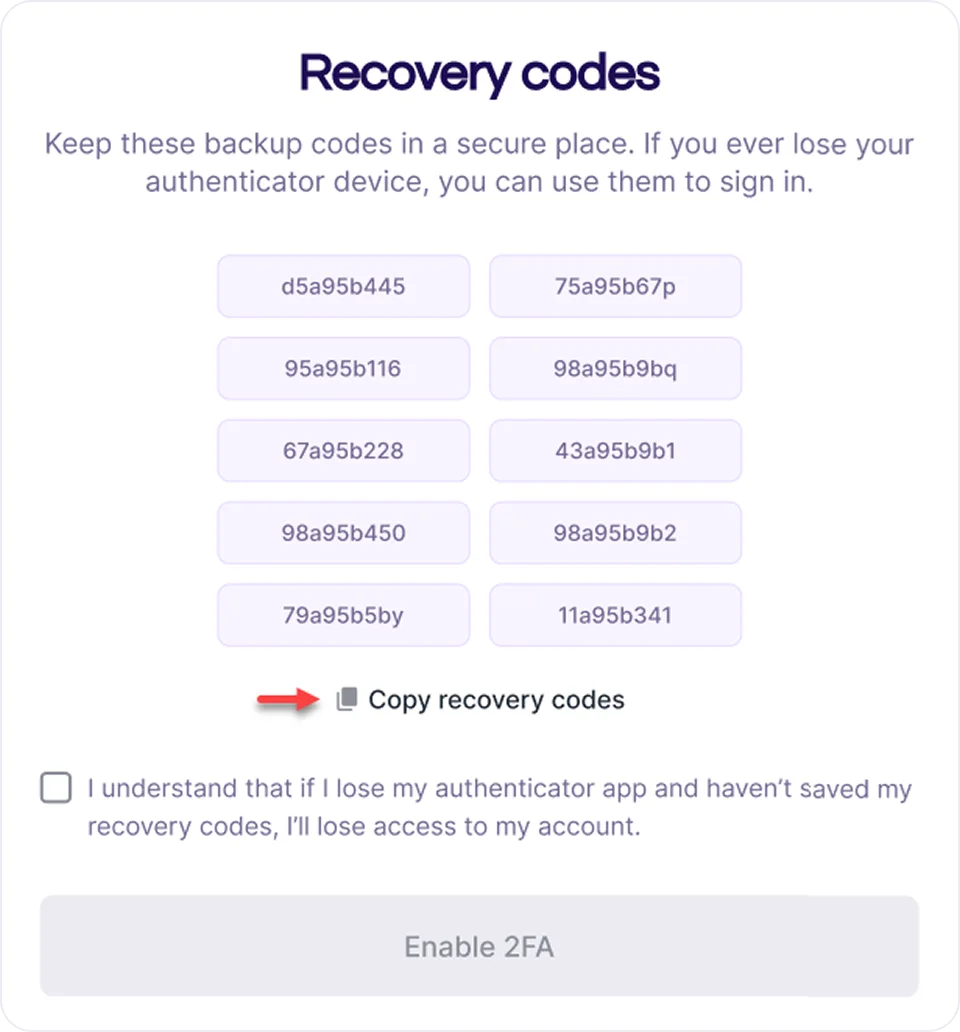
- Once the codes are stored safely, check the box to confirm you've read and understood the information above, and click Enable 2FA.
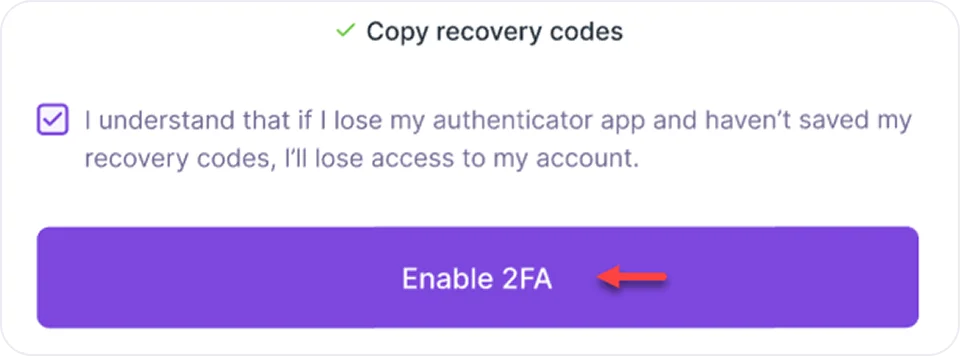
The confirmation message is displayed, and your account is now protected with two-factor authentication. 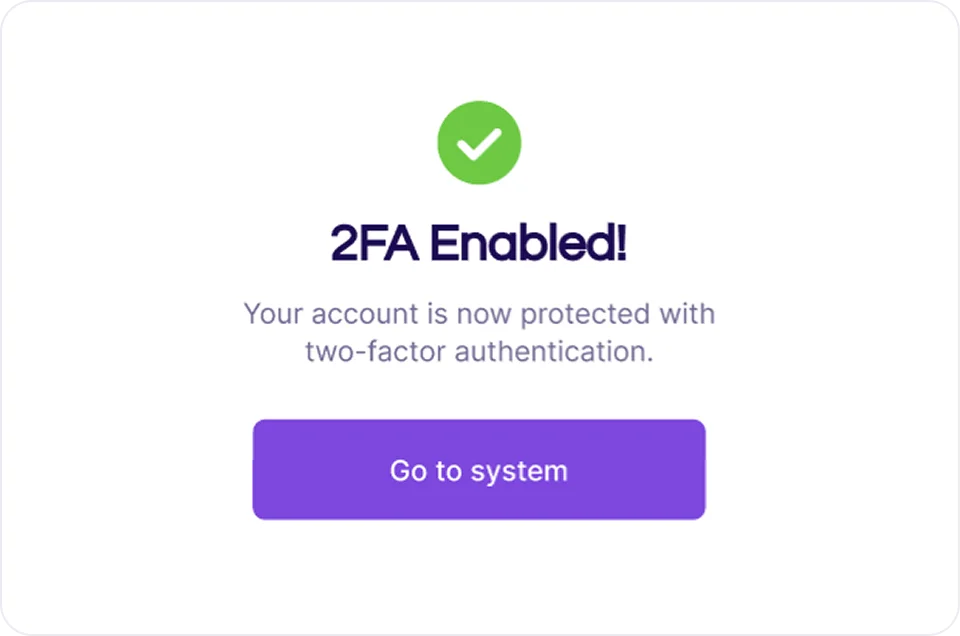
Disabling 2FA
Disabling two-factor authentication removes the additional layer of security from your account, meaning you'll only need your username and password to sign in. You can turn off 2FA at any time from your account settings, but we recommend keeping it enabled for stronger protection.
To disable 2FA:
- Log in to your Slimlink account.
- Expand the dropdown menu in the right top corner next to your name, and select Profile to open your Personal Information page.
- From the 2FA menu, select 2FA: Disabled.
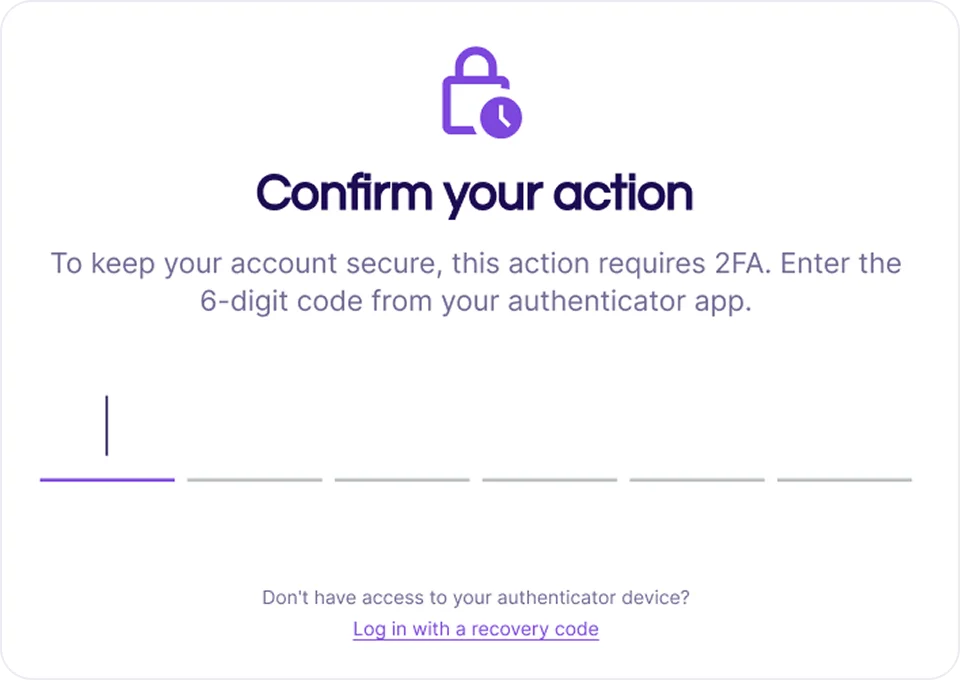
- Finally, confirm your choice by entering the 6-digit code you obtained during 2FA setup from your authentication app.
Logging in with 2FA
The 2FA code may be required to verify your identity during sensitive actions or after a period of inactivity. You'll be asked to enter a verification code in the following cases:
- Logging in after a period of inactivity
- Changing your account password
- Updating user data like phone number / email
- Uploading a large amount of analytics data
This helps ensure that actions affecting account security or sensitive data are confirmed by an authorized person.
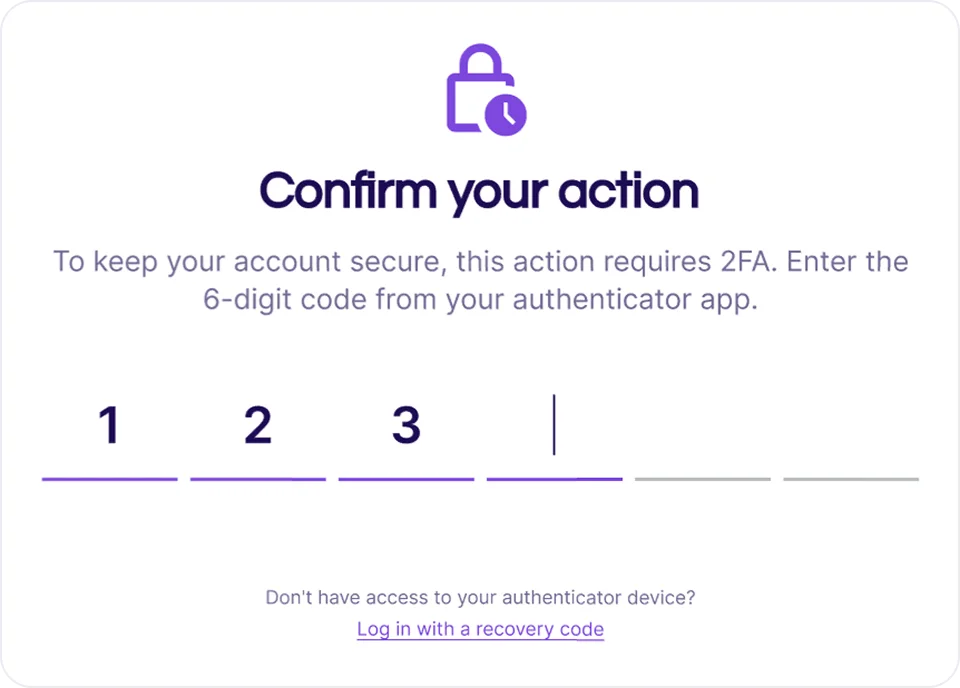
To verify your identity with a 2FA code:
- Start by entering your email and password.
- Enter the code you obtained from your authentication app at the time of 2FA setup to confirm your login.
 If the correct code is entered, authentication is completed automatically and you are directed to the Slimlink page.
If the incorrect code is entered, the corresponding message is displayed. You can re-try entering the code.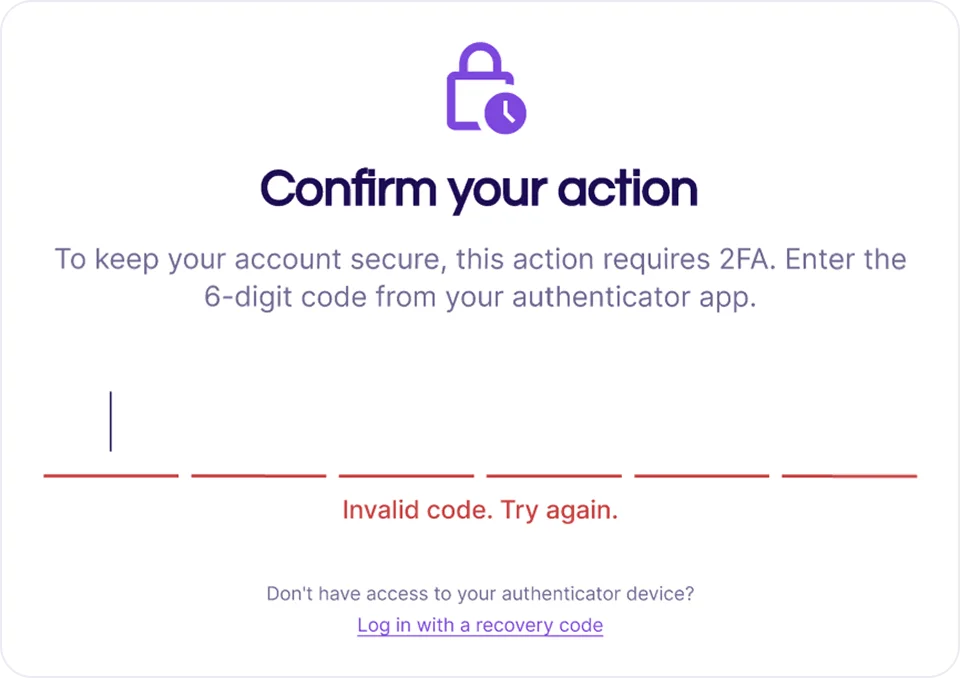
- Finally, confirm your choice by entering the 6-digit code you obtained during 2FA setup from your authentication app.
If the code is lost or inaccessible, you can use one of your recovery codes to log in to your account.
Using recovery code
Recovery codes are a backup way to log in when you can't use the usual 6-digit code from your authenticator app. They're generated when you first set up 2FA and should be stored somewhere safe - you can use any one of them to verify your identity and access your account.
To log in to your account with your recovery code:
- Start by entering your email and password.
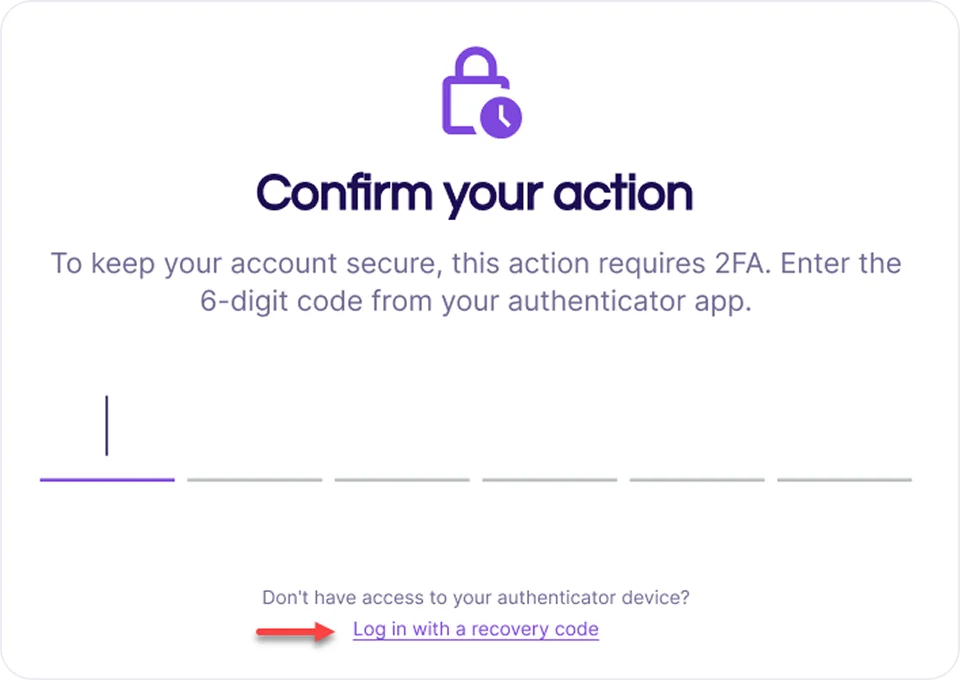
- On the Confirm your action screen, click Log in with a recovery code.
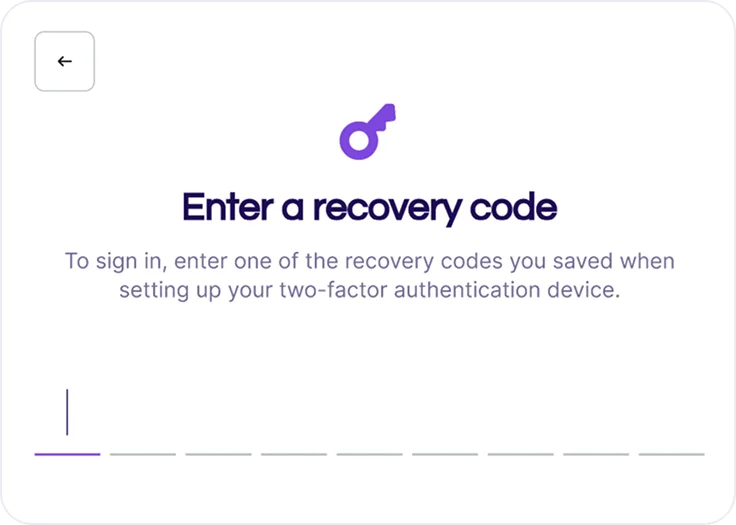
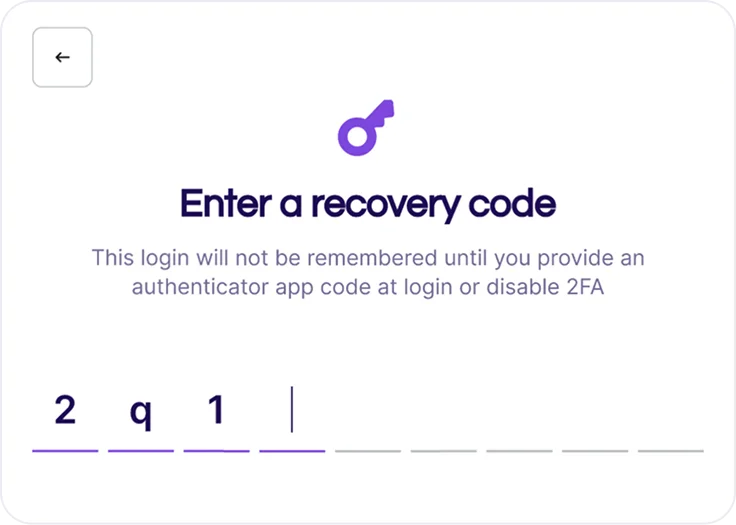
- Enter one of ten recovery codes saved at the time of 2FA setup.
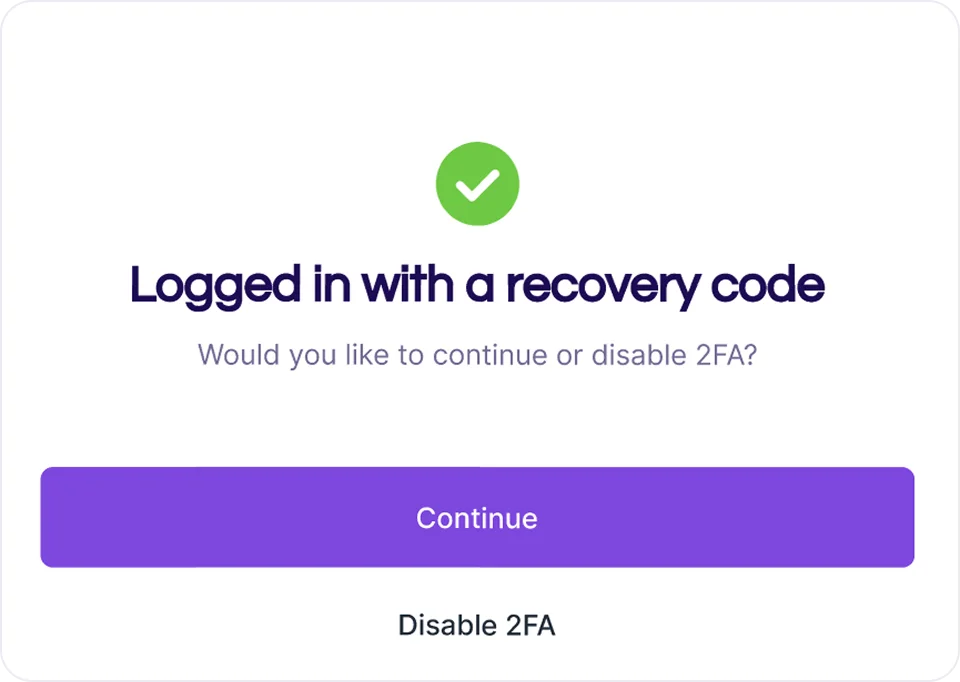
The recovery code is verified, and if entered correctly, the confirmation window is displayed. From here, you can:
- click Continue to proceed to your account Analytics page, or
- select Disable 2FA to turn off two-factor authentication for your account and log in with just your email and password.