
Creating a short link on Slimlink is a flexible process that allows you to tailor it to your specific needs. You can customize the domain, set an expiration date to control its availability, and generate a QR code for easy offline sharing. To keep things organized, you can add tags, making it simple to manage and locate your links later. With analytics enabled, every link provides valuable insights into its performance, helping you make informed decisions about your sharing and engagement strategies.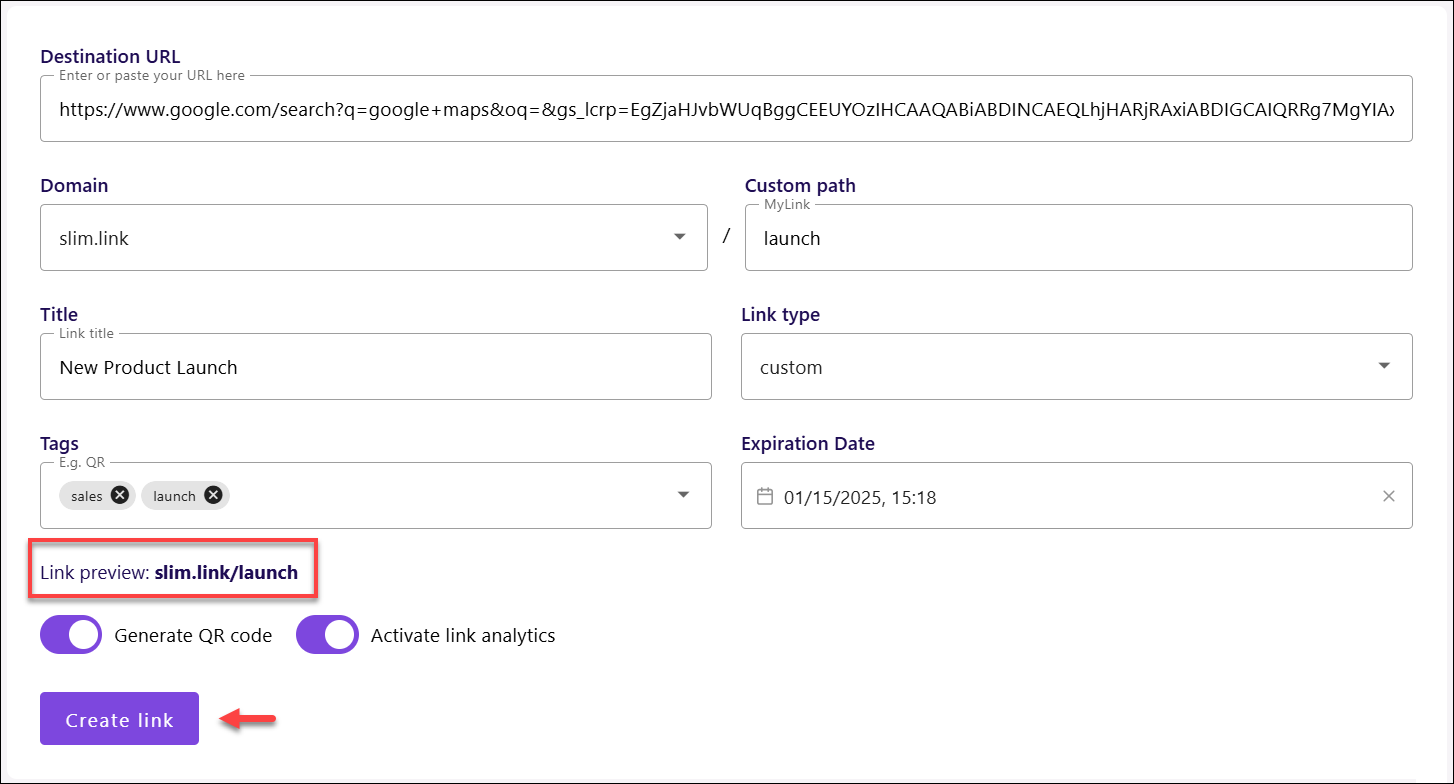
To create a short link:
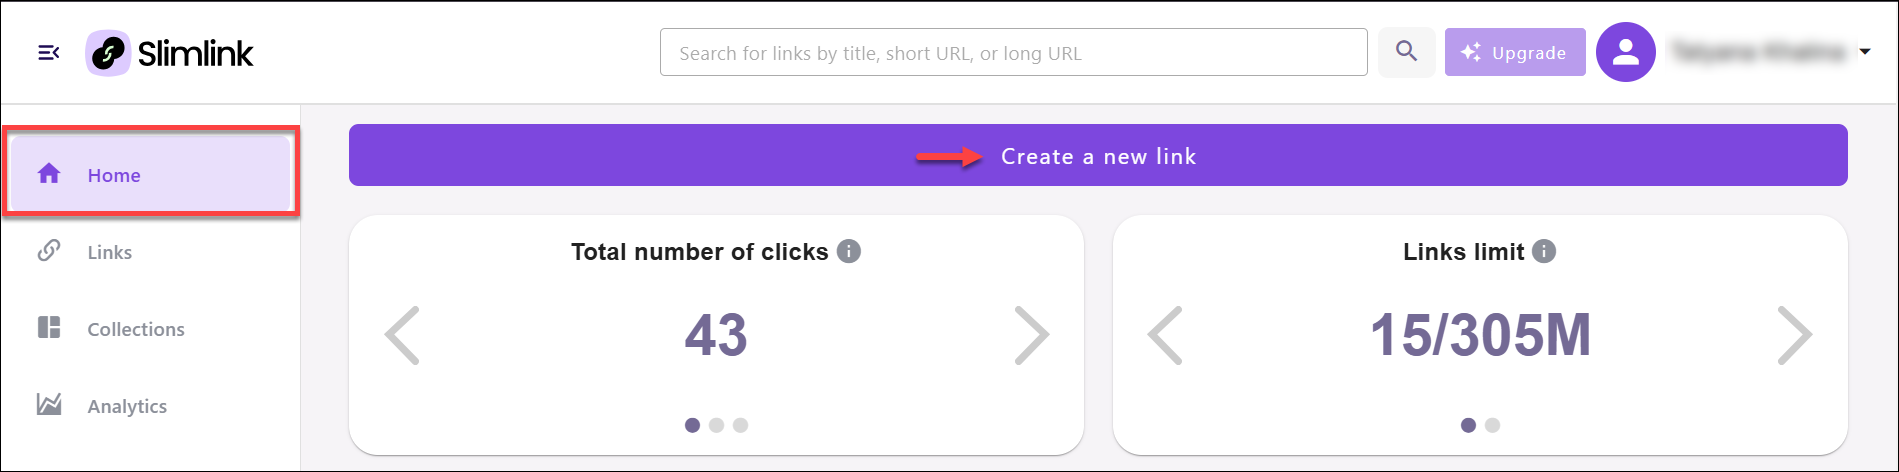
- Log in to your Slimlink account.
- Click Create a new link right on the Home page.
 Alternatively, you can open the Links section and select Create a new link from there.
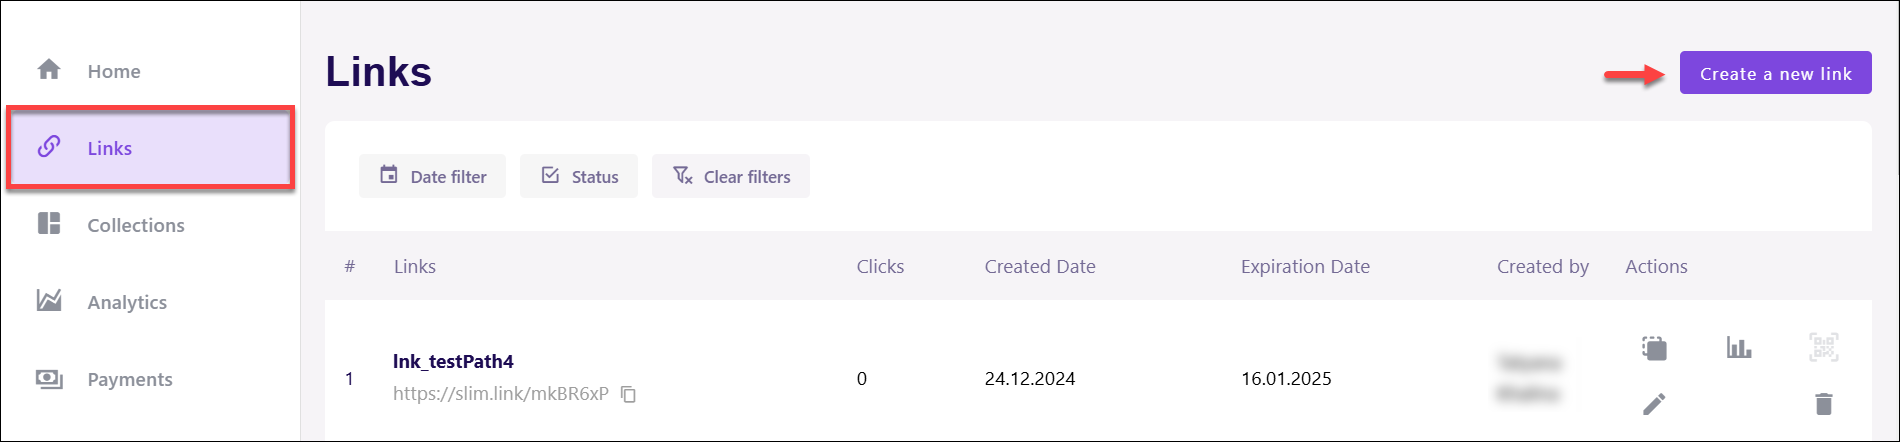
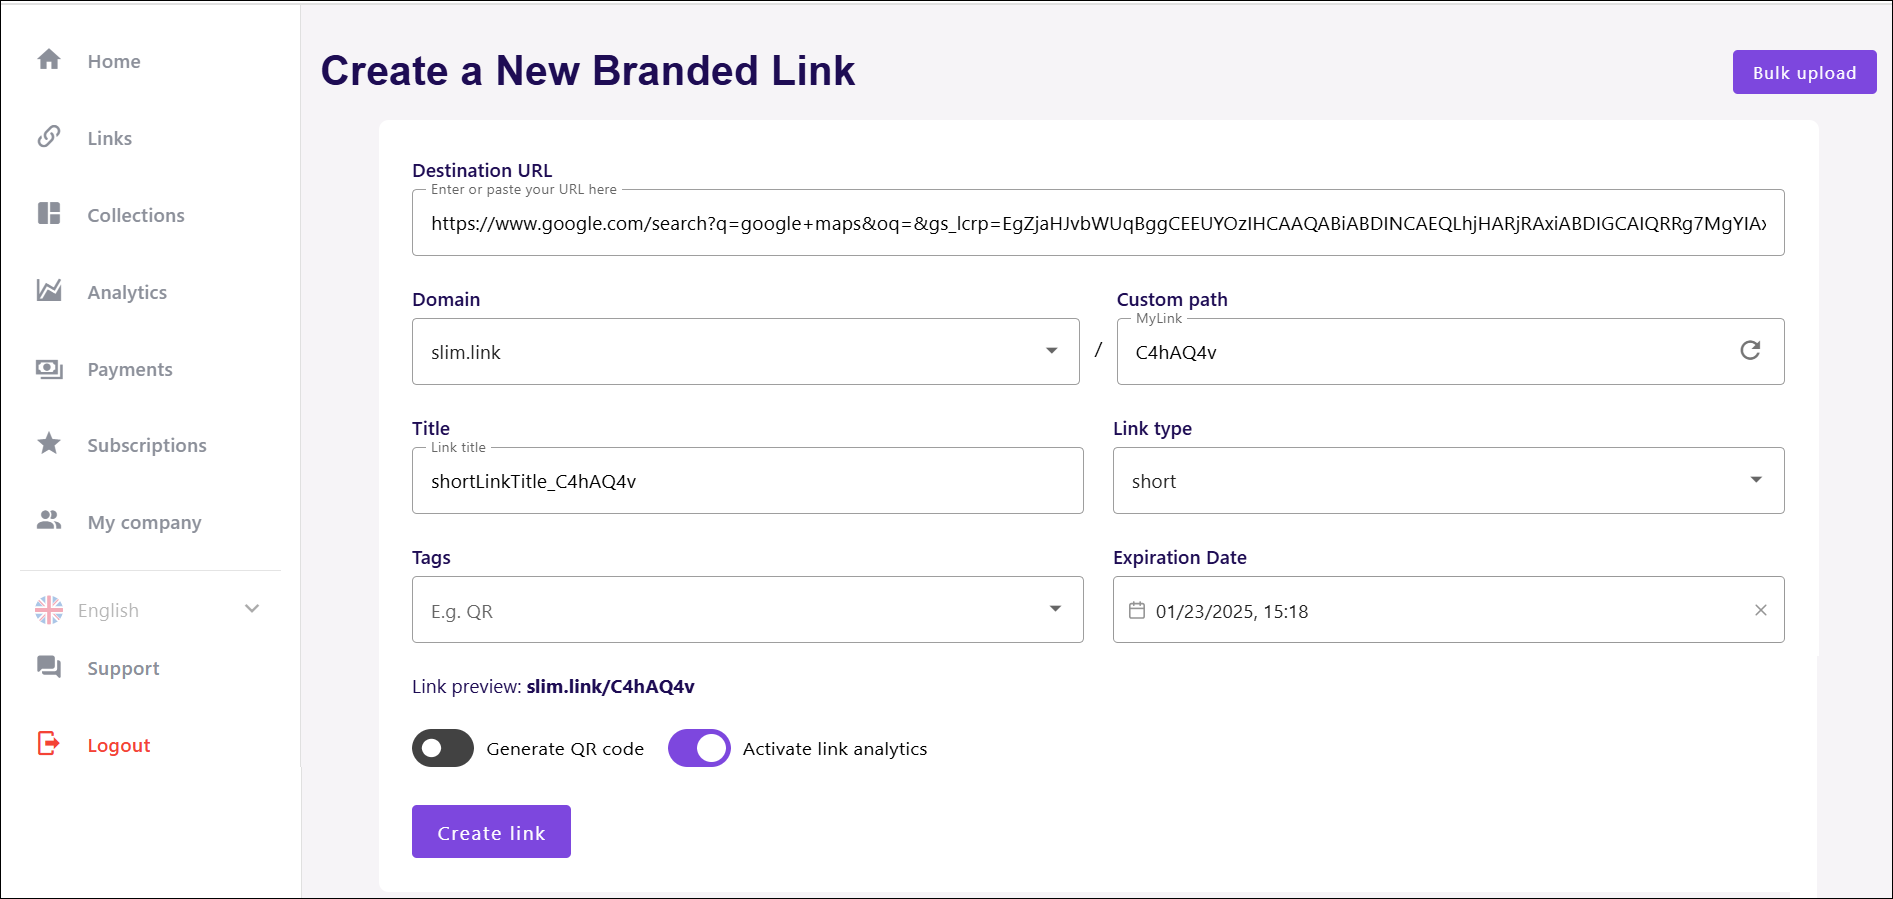
- In the Destination URL field, enter the link to be shortened. At this stage, you can also select the Bulk upload (see Can I use the service for bulk link shortening?).

- The short link is already created and ready for use, however you can easily customize the link using the same page as described below.
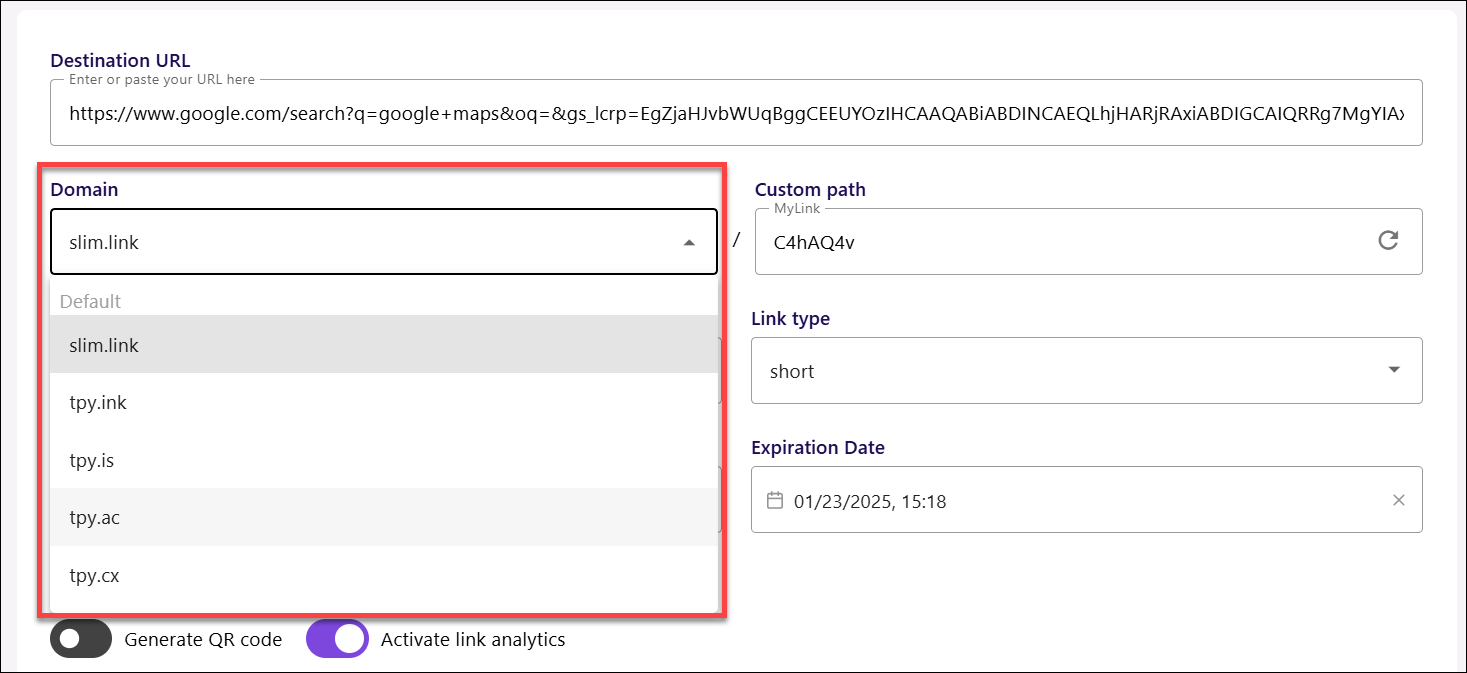
- Domain - Here, you can select one of the available domains for your shortened link. These pre-configured options ensure consistent branding and functionality. We also provide the option to use your own domain for further customization. This enables you to create a more personalized and professional appearance for your shortened URLs, aligning them seamlessly with your brand identity.
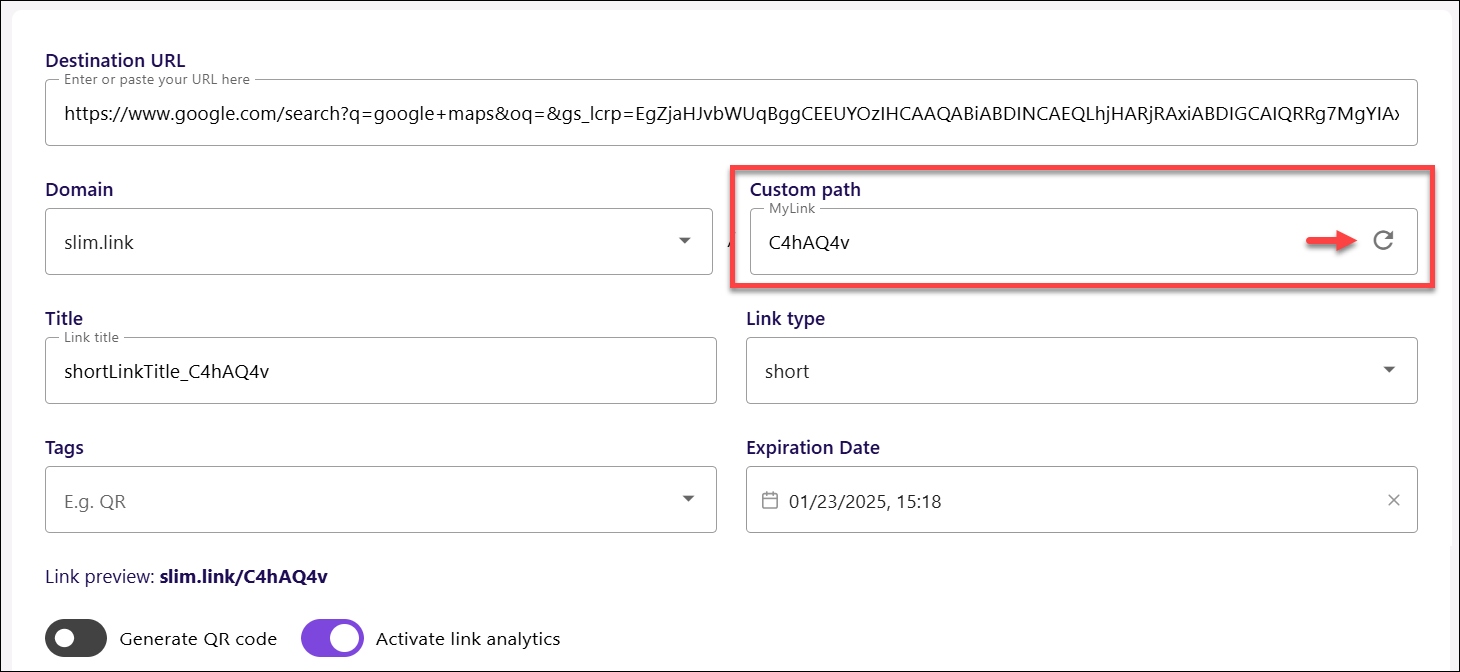
- Custom path - The custom path reflects your current selection in the link type field, adjusting automatically to match its format. You can refresh this field to generate another option for the short link, providing flexibility and convenience in choosing the final URL. Note that the custom path must be unique, i.e. there cannot be 2 same paths in one account.
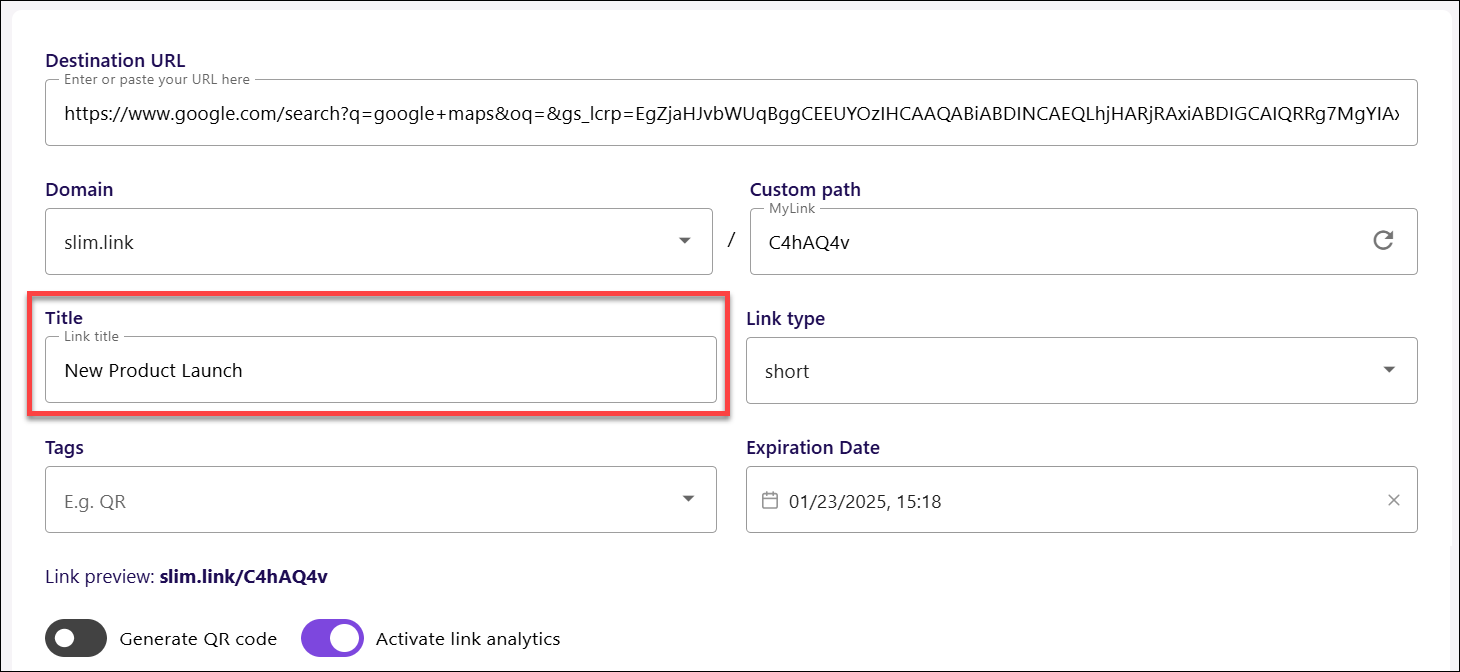
- Title - You can assign a title to your link for easier identification in your dashboard. This helps you quickly locate and manage your links, especially when you have a large number of them. Note that title must be unique, i.e. there cannot be 2 links with the same title in one account.
- Link type - Now, select the link type that fits your needs.
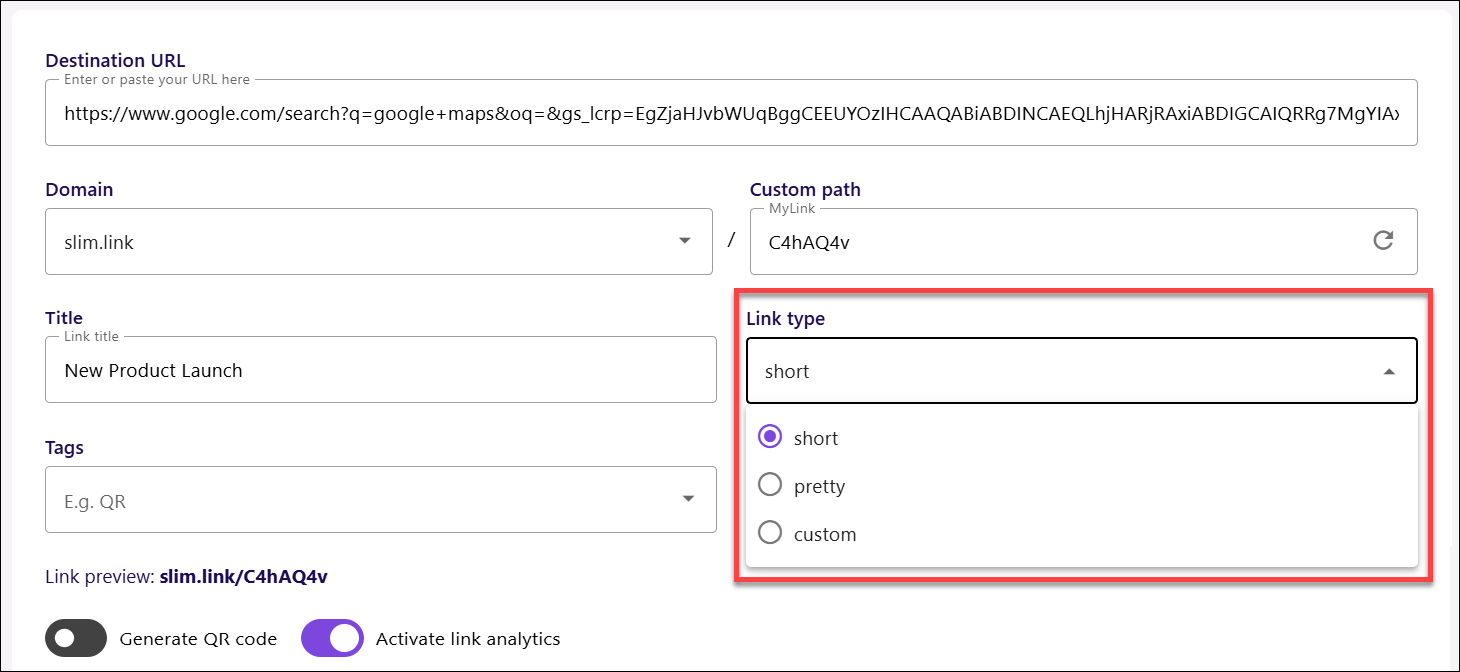
- Short: Choose this link type for a simple and straightforward shortened URL. This option provides the basic functionality of shortening a link, creating a clean, concise URL that’s easy to share, without any additional customization. This option is selected by default.
- Pretty: Opt for this link type if you want a more visually appealing link. This option allows you to create a shortened URL that includes a custom, readable path, making it look more branded and professional while maintaining ease of use.
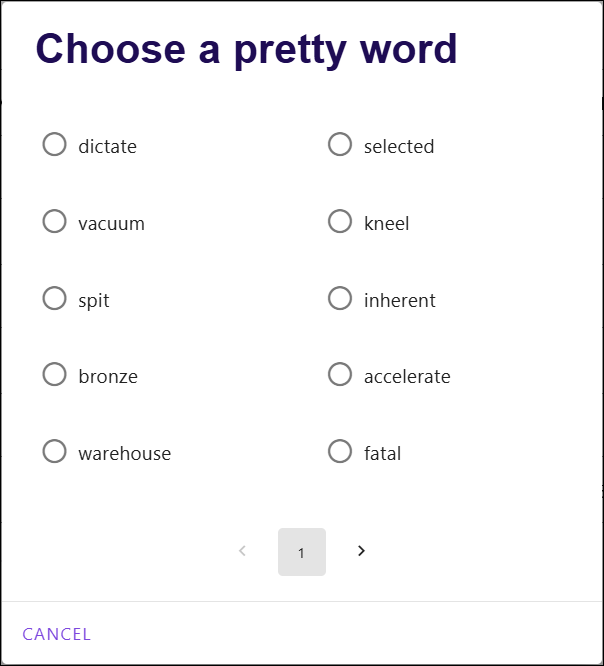
- To use this option, expand the Link type dropdown, and select pretty.
- In the opened window, select the preferred word. You can use the page navigation buttons to explore the list and find the suitable option. Or, click Cancel to exit the window without saving changes.
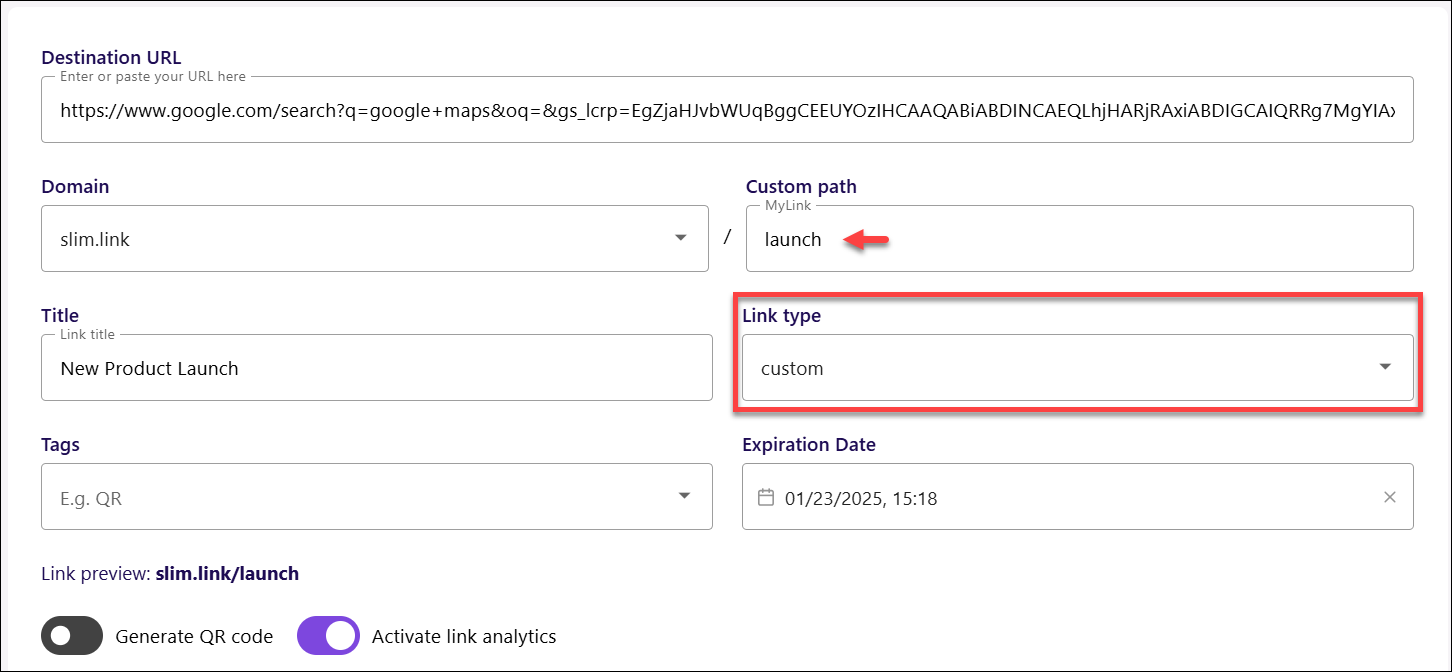
- Custom: Select this link type when you want full control over the link appearance. This option allows you to choose and type in your preferred slug, making the URL unique and tailored to your specific needs or branding, without any restrictions.
- To use this option, expand the Link type dropdown, and select Custom.
- In the editable Custom path field, enter preferred word(s) to create a unique link.
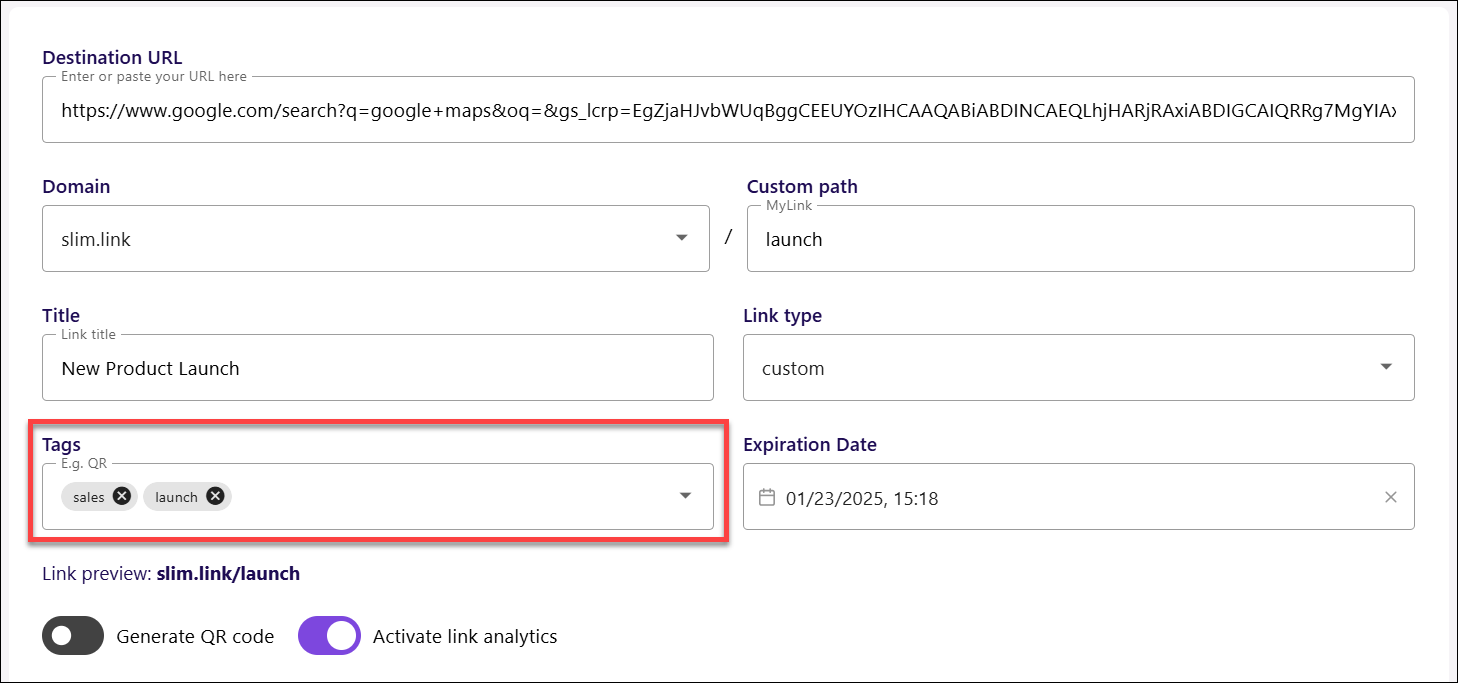
- Tags: This field allows you to add tags to organize your links. Tags make it easier to categorize and search for links, streamlining the process when managing multiple URLs. To add a tag, simply write the required word in the Tags field, and click Enter. Remember that a tag cannot contains any spaces.
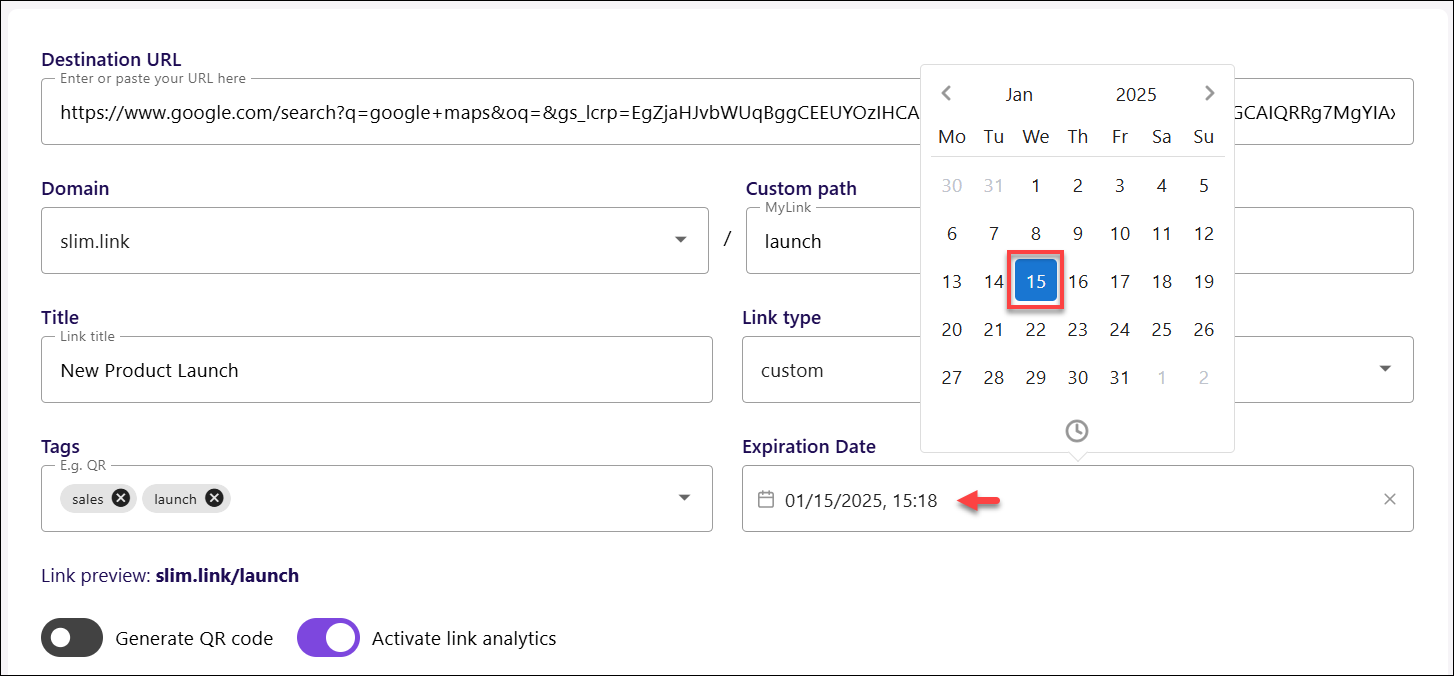
- Expiration Date - Here, you can set an expiration date to automatically deactivate the link after a certain period. This ensures the link remains active only for as long as you need it. You can adjust:
- Date: Set a specific calendar date for your link to expire. This option allows you to define a fixed expiration date, after which the link will no longer be accessible.
- To define the date, simply click the Expiration Date date picker, and
- Select the date till which the link will be valid. One month validity is selected by default.
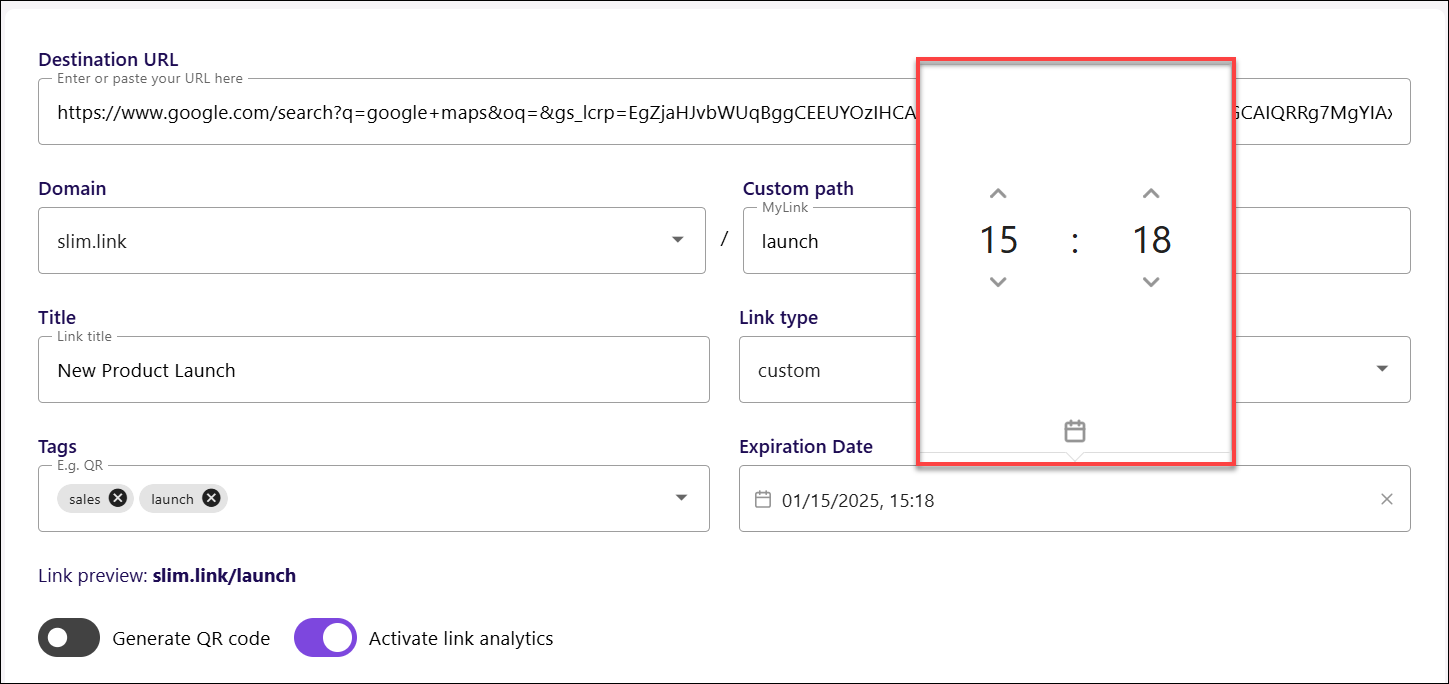
- Time: Set a precise time for your link to expire. This option gives you more control by specifying not just the date but also the exact hour and minute when the link will deactivate. It’s ideal for time-sensitive promotions, offers, or campaigns where the link should only be available during specific hours.
- To set the time, click the Clock icon at the bottom of the date picker, and
- Select the exact time up to which the link will remain valid.
- Date: Set a specific calendar date for your link to expire. This option allows you to define a fixed expiration date, after which the link will no longer be accessible.
- Generate QR code - This option allows to create a QR code linked to your URL. This makes it easy to share your link offline on printed materials, presentations, or events, allowing users to access it by simply scanning the code. This toggle in OFF by default.

- Activate link analytics - Enable analytics to track the performance of your link. Monitor metrics like click count, geographic data, device usage, and traffic sources to gather valuable insights and optimize your sharing strategy. This toggle in ON by default.

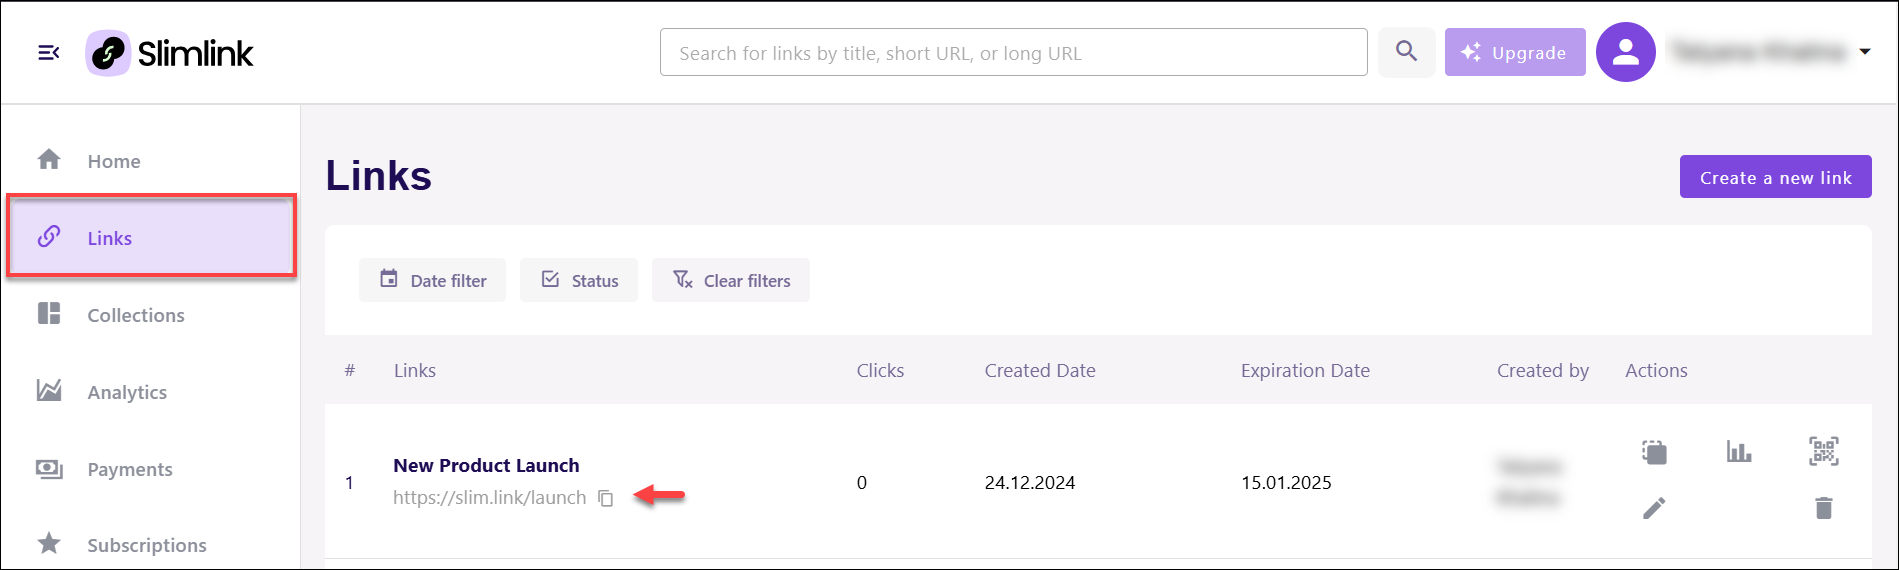
5. Finally, check how the link will look like in the Link preview, and click Create link.
That’s it! Your link is created and saved in the Links section, ready to be shared.